Dismantling a recliner can be done for all sorts of reasons. People usually take their recliners apart to freshen up the upholstery. No matter if you have a perfectly operational chair or not, sooner or later you will have to take your recliner apart. A lot of people struggle with the assembly process, assuming that the opposite would be a piece of cake. However, disassembling a recliner does require a certain amount of care and attention.
Most modern recliners come with similar construction, the differences lie in the types of screws used and the bearing design. It is safe to say, however, if you master a single recliner chair disassembly, you’ll be familiar with them all. So, let’s get to it!
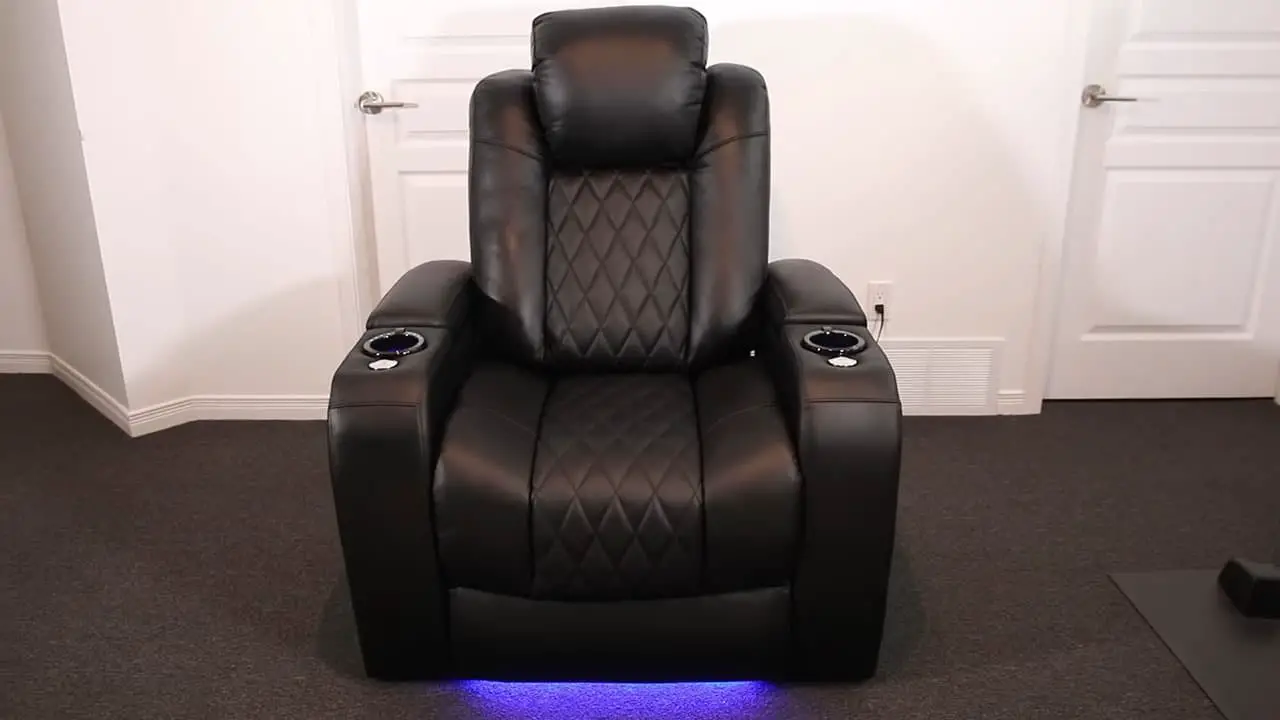
Table of Contents
- How To Take Apart An Ashley Recliner Chair?
- How Do You Move A Recliner Chair?
- Can You Manually Recline A Power Recliner?
- Conclusion
How To Take Apart An Ashley Recliner Chair?
Most Ashley recliner chairs you can take apart on your own, though some minimal assistance wouldn’t go amiss. Whether you have any helpers or not, it’s best to prepare for a lot of labeling of disassembled parts. Or, if you prefer to rely on your memory – a careful organization process.
Before You Get Deep Into It
- If your Ashley chair is a power recliner, you will first need to disconnect it from its power source. Experts recommend to pull out the footrest and tip the backrest before your disassembly begins – it is a much safer process.
- Once the recliner is in full view, take detailed pictures for future reference. This way you will always be able to check your photos whenever you need to remember parts’ connections and positions.
- Now it’s time to find the locking mechanisms of your Ashley chair. Your best bet would be going straight for the back of the chair where most Ashley models house their release levers. Some chairs have their locks under the seat which you can reach when the footrest is fully lifted.
- If you have a fabric-covered Ashley recliner – the back of the chair will probably feature an outlined flap with a hook-and-loop fastener. Simply find the edge of the flap and pull it open. There you will find the chair’s frame and mechanical parts which you can now work on.
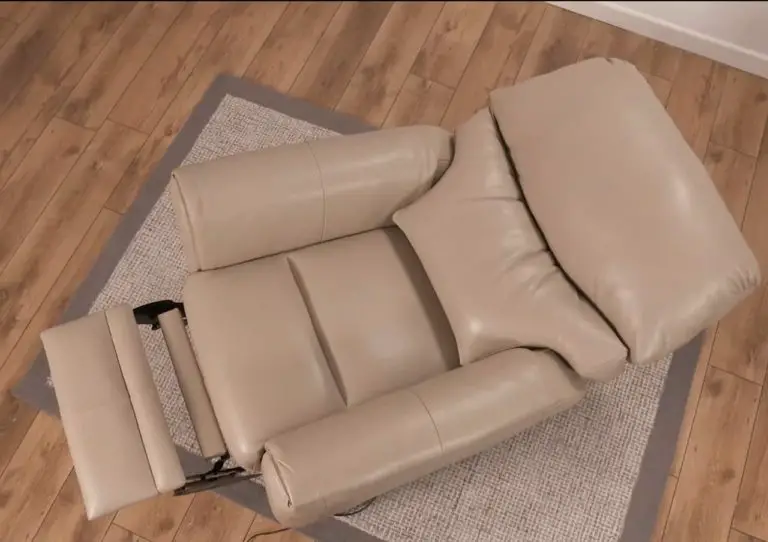
- Place the recliner on its backrest (if it is still attached; otherwise tip it however you find it most comfortable to access the underside). Be careful when lowering the chair to avoid damaging your floors as well as the recliner itself. Always watch where your hands go to keep your fingers safe.
- Examine the exposed mechanism for all springs, screws, bearings, and various mechanisms that hold the chair’s elements together. Set the chair upright for the next step.
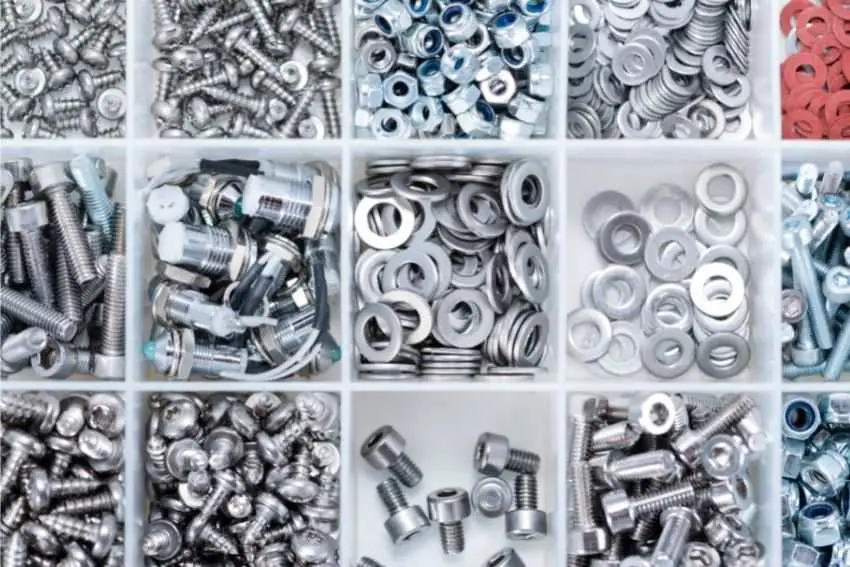
- A great way to organize disassembled parts (bolts, springs, etc) is by using bags with labels for each section of the chair, for example.
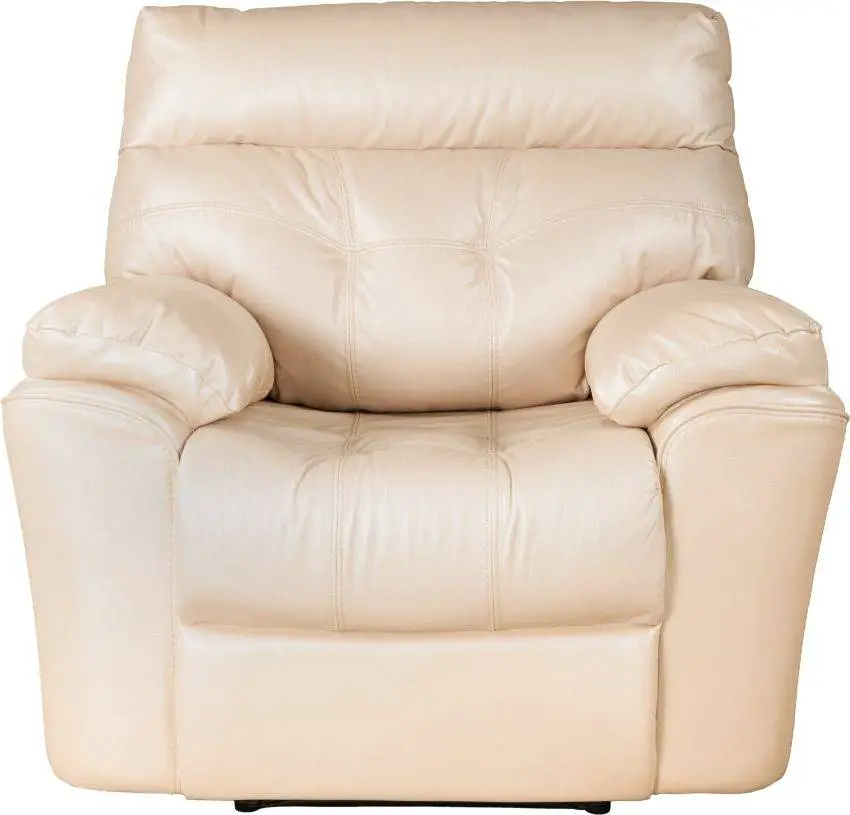
Careful with the Leather Recliners
Leather Ashley recliners can also come with hook-and-loop backside flaps, but not every leather model has them. If yours doesn’t seem to have any visible flap, then your way into the release locks could lie through backrest seams. Inside, there should be a release lever that lets you detach the backrest. You will need a tool for some levers thanks to how firmly attached they are.
Taking The Recliner Apart
- First, you might want to take care of the seat. You can remove it by loosening respective levers located on the rear of the recliner. Once the seat is released, you may move onto both armrests that have their own locking levers, though the principle is identical.
- Flip the chair on its back once again to have a clear view of the footrest. Use a screwdriver to remove all present screws, then work on other bearings that require the application of a wrench. Remember to sort all hardware bits carefully so you can remember which bit goes where.
- Remove the footrest from the main structure and set aside. Then do the same to the base.
- Use your tools to loosen the pieces that hold the armrests secured to the frame. Remove the mounting brackets first, then take off both armrests. Again, don’t forget to keep an eye on your bolts and screws.
- All that’s left is to take off frame bearings and rails remaining in the area where the seat has been, after which the backrest and any small hardware bits like springs should follow.
- If your Ashley recliner has a motor system, you can finally remove it safely with all its wirework.
After the job is done, you should have several neat bagfuls of organized parts and a completely disassembled Ashley recliner chair. Remember where you store each bit so you can assemble the chair without any hassle.
How Do You Move A Recliner Chair?
Transferring a recliner from house to house is for professional movers that are equipped to take care of it with your other furniture. However, you wouldn’t want to call on a team just to move your recliner into another room or upstairs.
Recliners can be quite heavy, and even if they are not, they are still bulky. To ensure you don’t damage your floors and walls, it would be a good idea to familiarize yourself with the proper procedure.
Plan Ahead!
- The first step is taking a set of measurements. Plan your moving path and measure each hallway and entrance to compare it against the width of your fully assembled recliner (like La-Z Boy). If the chair is too heavy and/or large, you will have to remove certain parts to get the entire unit to the new room, piece by piece.
- If you can move the recliner without the assistance of a moving team, make sure you remove all objects from the chair’s future moving passage.
All Set to Move!
- Find the release locks for the backrest at the bottom of the chair’s rear. Most levers need to be lifted with a flat screwdriver to detach the upper section of the backrest. Remove this part and carry it to the new room. Repeat with the other heavy back pieces and assemble them in the new room.
- The base of the recliner still remains and you need to set it straight. When you are sure it’s secured and ready to be transported, cover the recliner base in its entirety using a strong plastic sheet and tape the wraps for safety. This will also prevent slippage during the move.
- This part of the move requires two people to perform it. You will also need a two-wheeler or a cart dolly to transport the recliner base. To do that, position the cart under the base and get ready to lift. While one person inclines the back of the chair, the other should hoist the front.
- Pull the cart while holding the recliner in place into the new room. If you are taking the stairs, take each step with the utmost care and avoid rushing at all costs as it may result in injury.
- Move the chair into the new room, remove the cart, and cut away the tape. Remove the plastic and continue with the rest of the assembly should you require it.
Can You Manually Recline A Power Recliner?
Power recliners, and some cuddler recliner chairs, utilize the integrated motor to provide you with all those movements. The motor is usually on the underside of the recliner chair and it’s replaced in case of malfunction.
Since the electrics are supposed to free you of any unnecessary physical exertion that’s usually required to set some manual recliners (swiveling or gliding) in the desired position, you probably won’t find a manual lever that lets you push back against the frame and control the angle of recline with your body.
Though manual models have nearly identical mechanisms and bearings, the difference is in the amount of force you have to apply. Some manual recliners have partially automatic features, but the process is more or less the same. No matter, a recliner must be sturdy and supportive at all times.
If the motor on your power recliner has recently gone out of commission and you are thinking of converting the chair into a manual one, it might be best to just find a replacement motor. New motors for brand models are easier to come by and much simpler to install.
Conclusion
Oftentimes, a simple set of instructions is the best one. Of course, if you are new to the recliner disassembly process, we’d advise being extra cautious. Remember – a little patience goes a long way, both with taking the recliner apart and with assembling it. By staying informed, you can master the intricacies of virtually any newer recliner model, which saves time and money!.
At The Home Dweller, we focus on the important stuff and essential factors regarding, well, anything home-related. So, if you know someone who can use the stuff we talked about in this article – feel free to send it to them, or even share it on social media.
