Ninja blenders are as powerful as they’re famous – but knowing how to use a Ninja blender is necessary to unlock its full potential. Learn how to prepare amazing purees, ice-cold smoothies, pancake batter, and tasty soups, all in a single Ninja blender!

Table of Contents
- The Types of Ninja Blenders
- How Do You Operate a Ninja Blender?
- 1. Assembly
- 2. Add Ingredients
- 3. Pick a Blending Setting
- 4. Clean up and Enjoy
- Common Ninja Blender Issues
- Cut it like a Ninja
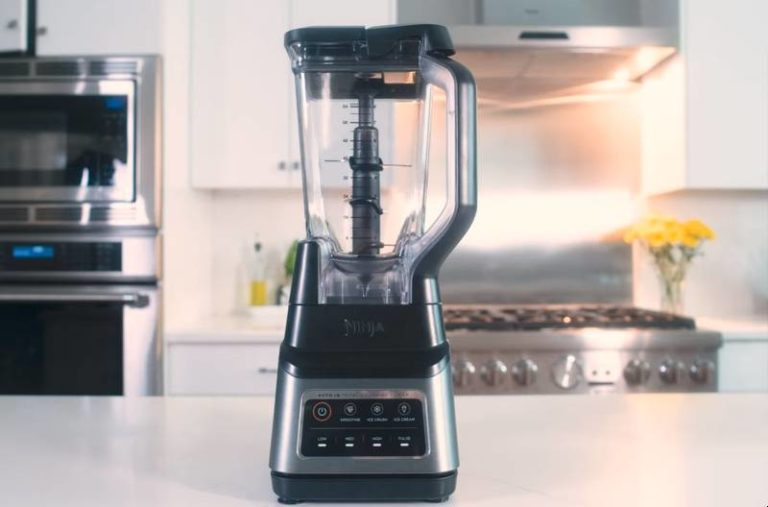
The Types of Ninja Blenders
Ninja blenders are a customers’ favorite among the company’s diverse array of kitchen appliances. Apart from their famous blenders, Ninja also makes indoor grills, pressure cookers, air fryers and ovens, masticating juicers, and coffee machines. So, it is only natural you can always find a Ninja blender among the top blenders for home kitchens.
Not every Ninja blender is the same either.
There are about 10 product series of Ninja blenders currently on the market. They come in all shapes and sizes – from single-serve, portable blenders to the powerful models that would fit right into a professional kitchen.
Ninja Blender Blades
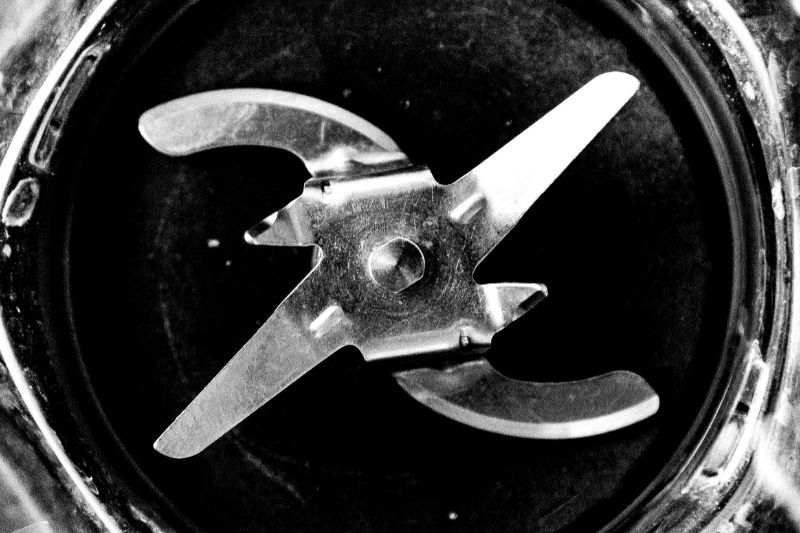
But Ninja blenders essentially come in one of two varieties, the main difference being in the blade assembly.
- Ninja’s Total Crushing blades resemble the blade assemblies used in food processors. They’re usually three or more individual blades mounted upwards on a shaft.
- A typical blender blade assembly with three or more blades located at the bottom of the blender jar. The feature that sets Ninja apart from other blenders is that the blades are mounted on a lid that closes the jar, after which the “bullet” is mounted on the motor base.
Which Ninja Blenders use Total Crushing blades?
They’re mainly used in Ninja Professional blender and Ninja Mega Kitchen System product series (along with Ninja blender systems with Auto-IQ Total Boost). If your Ninja model number starts with a BN or BL, your Ninja blender uses Total Crushing Blades.
The blade is similar to, but not the same as Ninja Intelli-Sense (the model number starts with CT) blade assembly.
How do I use the Ninja Pro?
Despite being powerful, Ninja Professional blender is quite similar to any other model. The main difference lies in the Total Crushing technology that it uses in addition to regular blender blades. Ninja Pro does come with quite a few container options and blending program presets, so you should consult the user manual for particular assembly and usage directions.
How Do You Operate a Ninja Blender?
Ninja blenders are user-friendly, so you’ll learn how to use yours very quickly. There are 4 essential steps when using your blender:
- Assembly
- Adding ingredients (the right way)
- Setting up and running the blender
- Cleaning up
Let’s tackle them step by step.
1. Assembly
The bottom part of every Ninja blender is the unit’s base that houses its motor. You’ll want to attach the jar and blades to the motor, but the exact process depends on the type of jar and blade assembly you use.
Assemble a Ninja blender with a pitcher

Like most large jars, Ninja has a pitcher-style container for large juices.
Place the pitcher at the top of the blender base. Most Ninja blenders require setting the jar in place at a 45° angle and then turning it in place (turn clockwise) until you feel it click and lock. Any rectangular Ninja pitcher likely only has 2 positions you can place it in and lock correctly. Usually, you need to place the jar with the handle turned towards the front side of the blender (left or right). Experiment with positions until you learn how to get your blender to click and get it locked properly.
If your blender uses the stacked blade assembly, put the blades into place. Make sure to hold them to the shaft and never touch the sharp blades.
Make sure the pitcher lid is properly closed.
Now it’s time to add your ingredients.
Assemble a Ninja blender with a Nutri Ninja cup
Nutri Ninja cups are similar to bullet blender jars.
Add your ingredients to the Nutri Ninja cup first.
To assemble the blender, you need to seal the Nutri Ninja cup with the Pro Extractor Blades. I’m talking, of course, about the black cap that has a blade assembly attached. Screw it on tightly.
Flip the sealed blending cup upside down and attach it to the motor base of the blender. The black cap with the blades should fit nicely into your blender base. Set it down on the base and turn clockwise until it clicks and locks in place.
You can start blending now.
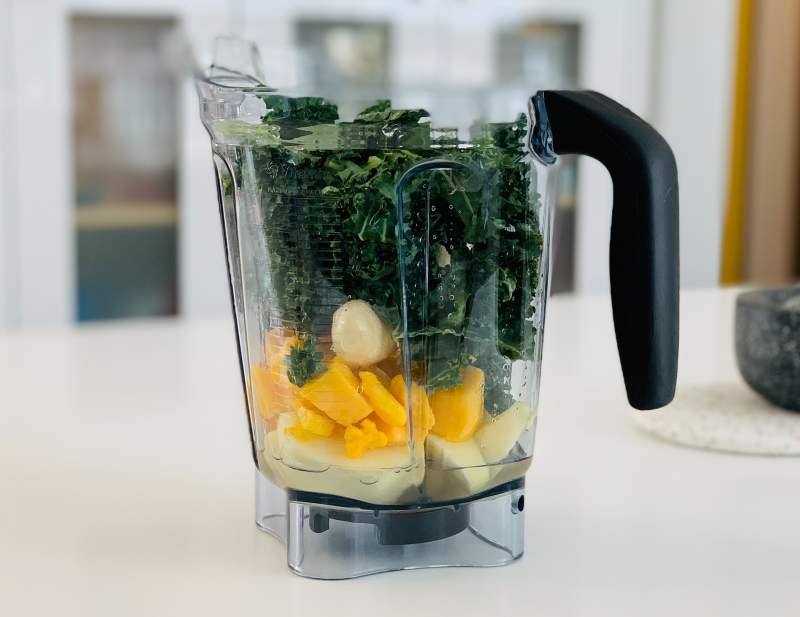
2. Add Ingredients
There are four rules you should always follow when adding ingredients into your blender jar:
- Don’t overfill. Your blender jar likely has a “fill to here” line on it. If you can’t find the line, leave at least an inch of empty space in your jar.
- Wash and chop your ingredients before blending them.
- Follow the order: fresh fruits and veggies go first, dry ingredients like nuts, seeds and powders go second, frozen items like ice or frozen fruit go third, and juice, water, milk, or yogurt go last. Similar to using a blender for crushing ice.
- Close the lid tight before you start blending.
Can you put frozen fruit in a Ninja blender?
Yes! Even the small Ninja blenders with weaker motors (like this 400 W model) can crush ice and frozen fruit. All thanks to their quality blades and clever design.
3. Pick a Blending Setting
How do I choose the right blending speed?
Blenders come with a different range of speed settings, so it’s hard to tell which number exactly you need to choose. But most blenders have low, medium, and high speeds. Make sure to take a look at our Vitamix vs Ninja blender comparison, there’s a lot of useful info there as well (especially if you’re looking to buy a new blender).
- Low speeds are ideal for soft fruits like strawberries and plums.
- Medium speeds are great for everything and anything. From spinach to carrots, medium speed is right for the tougher produce.
- Higher speed settings are great for frozen food and ice. It’ll blend into smooth drinks, but the milk you add may get a bit too frothy. If you ever worked with a blender for frozen drinks, you know the drill.
What is the pulse option?

The pulse option exists on most modern blenders, and it’s a very useful feature.
In essence, it runs the blender at top speed for as long as you hold the button. Once you release, the blender goes back to its original speed settings. This option lets you blend in waves (pulses), using high speeds for short periods.
A pulse option is an amazing tool that lets you blend evenly. It’s especially useful if some of your ingredients are stuck at the top while the bottom portion gets over-blended – a little pulse or two will help bring the stuck ingredients down towards the blades.
Ninja blender pre-programmed Settings
Three pre-made settings are commonly found in Ninja blenders: Puree, Crush, and Ultra Blend.
4. Clean up and Enjoy

At last, you can enjoy your delicious smoothie!
But before you enjoy your morning drink, don’t forget to soak your blender jar and blade assembly in water. If you let it sit for too long, the food remains will become gunk and stick to the walls of your blender, making it very hard to wash. It is not as complicated as cleaning a juicer, but doing it right after you’re done is a great habit to develop. Most Ninja blender parts are dishwasher safe.
Common Ninja Blender Issues
Why is my Ninja Blender not turning on?
If your motor doesn’t start or the blades are simply not rotating even though the motor works, there are a couple of things you should check before getting in touch with customer service:
- Make sure the jar is properly and securely placed on the motor base. Most Ninja models need to be twisted until you hear a click and feel the jar lock in place.
- Check if the lid is securely placed and closed.
- The blender jar shouldn’t be overfilled. Find the “Fill up to here” line on the jar or simply leave an inch or two of space in the blending jar.
- Make sure that the plug is securely inserted into the power source and that the power cord looks fine without any exposed wires.
- If the motor base of your blender is hot, it might have overheated. Unplug it and wait about 15 minutes for it to cool down. If the problem persists, get in touch with customer service.
Why is the red indicating light flashing?
Ninja blenders have a red light that flashes when the unit isn’t assembled the right way. This is a fairly common issue. Whether a piece is loose or your lid is not secure, the light will stop flashing and you’ll be able to use the blender only once the blender is properly assembled.
Cut it like a Ninja
Ninja blenders aren’t exactly as quiet as ninjas, but they sure do know how to cut. However, a tool is only as good as the user, so learning about all the options your Ninja blender has will help make this appliance the best investment for your kitchen ever!
Over here at The Home Dweller, we work hard to bring you the info you need in an easy-to-read format. If you found this article useful, help us by spreading the word about our site on social media.
